Free EASY FPGA Verilog course for beginners
FREE EASY FPGA Verilog course for beginners
The EASY FPGA Verilog course for complete beginners is now online 🚀!
I know from my own experience and also from my students that Verilog and FPGAs can be very hard to understand when you are a complete beginner 😰. The steep learning curve combined with the fact that most procedural programming languages are easier to learn, make many Hardware Description Languages beginners focus their attention and future careers in other industries (read more here about the industry job shortage).
This course is the result of my 10 years of Hardware Description Languages experience as well as more than 5 years teaching beginners to interact with Verilog and FPGAs. When I was first starting out in this field I wish I had step-by-step Verilog design and simulation guidance for simple FPGA projects that can be implemented on most development boards.
This set of practical Verilog projects provide full video guidance and the downloadable resources you need to implement the first FPGA projects on your development board. Even if you don’t have a development board you can still simulate the projects and gain precious know-how about FPGA programming.
How is the FPGA Verilog course structured?
Each practical FPGA project has an article with two YouTube videos containing the following:
✅ Project overview and theoretical intro
✅ Verilog coding and Modelsim simulation (FREE link to Modelsim Intel FPGA Edition provided)
✅ FPGA project using Intel Quartus and FPGA demo using the DE1-SoC development board
✅ Downloadable resources so YOU can replicate the project on your development board.
Who this course is for ?
✅ Computer Science, Electrical & Computer Engineering (ECE), Telecommunications, and Microelectronics, students who want to learn Verilog for their projects and faculty assignments
✅ Electronics and Microelectronics hobbyists who want to learn the Verilog Hardware Description Language
✅ Beginners who aspire to a career as a Digital Design Engineer or a Functional Verification Engineer using Verilog
✅ Beginners in digital microelectronics and digital circuits design curious about the Verilog Hardware Description language
List of Verilog FPGA projects
✅ Switches to LEDs
✅ Multiplexer to LEDs
✅ Binary Adder to 7 Segment Display
✅ Hamming Single Error Correction Double Error Detection
✅ FPGA Blinky LED
✅ Pushbutton Counter with Debounce
✅ Linear Feedback Shift Register
✅ Verilog BCD Timer
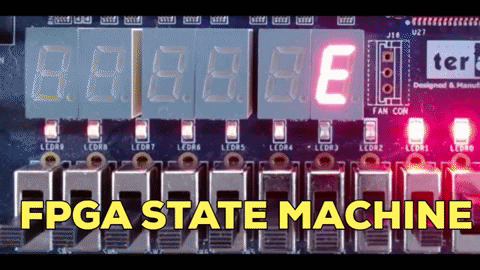
✅ Finite State Machine
✅ Pulse Width Modulation (TODO)
✅ VGA Controller (TODO)
But just like the song says 🤘 “A little less conversation and a little more action!”…
Let’s start the EASY FPGA course and jumpstart your Verilog and FPGAs learning!